How marking and clipping queens has improved my beekeeping skills
I found developing the skills of finding, marking and clipping queens, a key step in improving my beekeeping proficiency, from beginner up to BBKA General Husbandry standard. This blog outlines the reasons for marking and clipping queens, as well as how to do it.
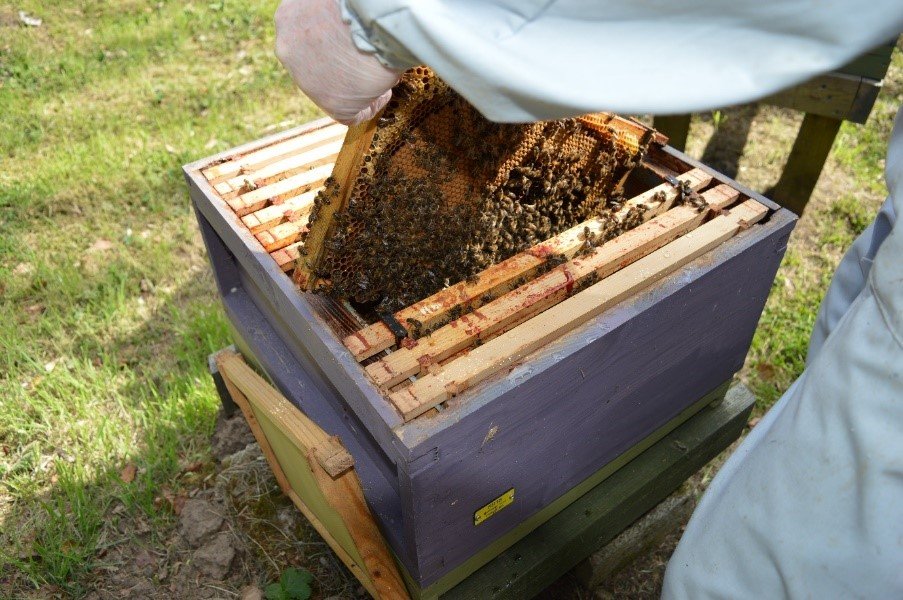
Spring is the best time of year for marking and clipping queens. The early season colony has bonded over the winter and is less likely to reject a modified queen. While the colony is still relatively small, she is a lot easier to find!
How did marking queens improve my beekeeping?
Marking the queen makes her easier to find! That may sound obvious but removing the stress of finding her, when you have an important manipulation to do, helps you to think better and carry out the task more effectively. It can save a lot of time too, especially during swarm control and queen rearing.
The less obvious change that I noticed in my beekeeping, was that I became less obsessive about seeing the queen during inspections, allowing me to focus on the other requirements of colony manipulation. I found that the queen would just appear during most inspections and I developed the confidence that I would be able to find her, when I needed to. As a result, my colony manipulation success rate improved.
How did clipping queens improve my beekeeping?
The reason I clip my queens is because I don’t want to lose bees!
The earliest that a colony will leave, with about half of the adult bees, will be when the first of the developing queens’ cells are capped. This is typically nine days after the egg was laid. The worker bees will start to feed larvae, they have decided to develop into queens, with “royal Jelly” within the first 48 hours, after they emerge from the egg. This is typically day four after the egg was laid. So if you inspect every seven days, it is quite possible that the colony can produce a new queen, cap her cell and swarm, before your next inspection.
Clipping does not stop the swarming process but it does stop your precious existing queen from going anywhere. The next opportunity the colony has to swarm will be when the first of the developing queens emerge. This is typically day sixteen after the egg was laid. This means that even inspecting every nine days, there is a very good chance that you will be able to intervene before losing bees.
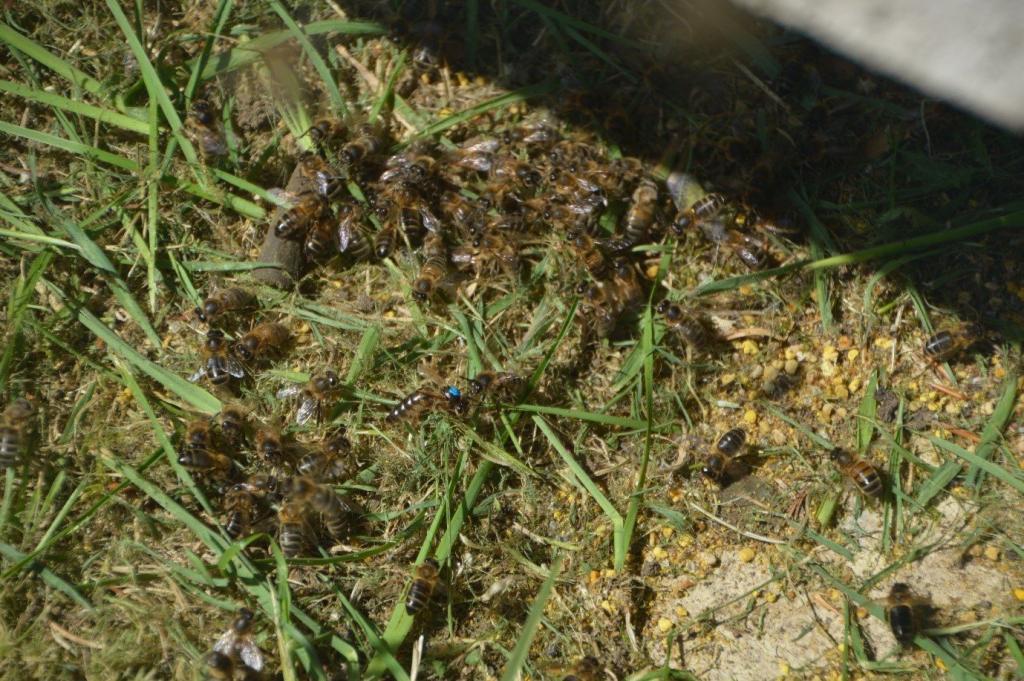
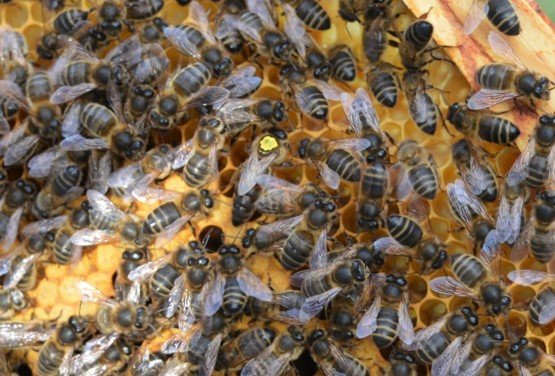
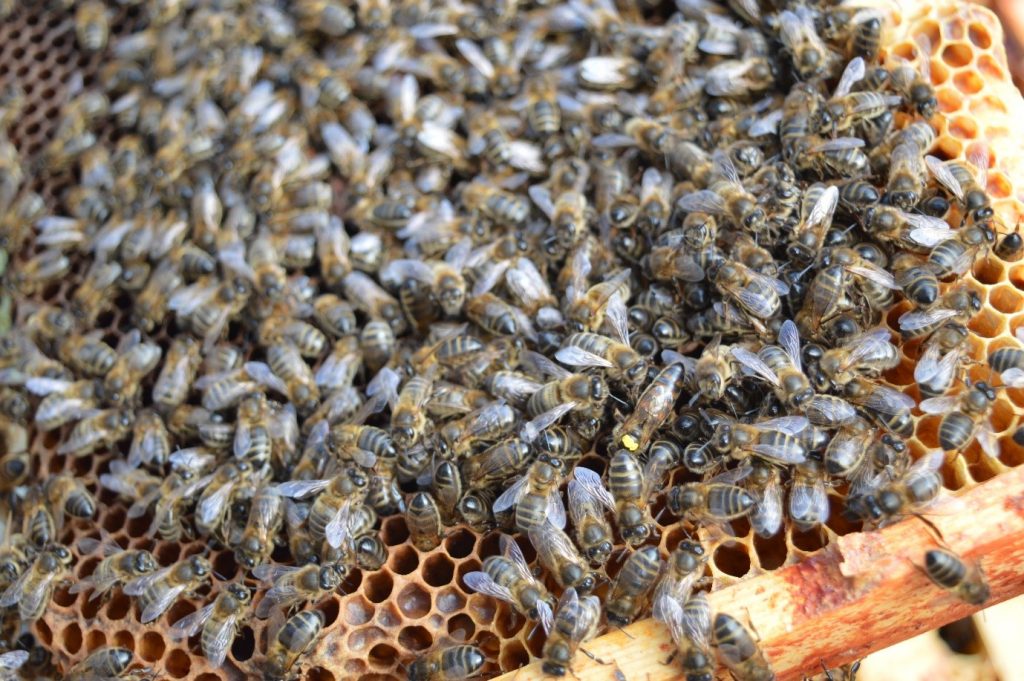
Here is Blue 10, making the “walk of shame” back to the hive after an unsuccessful swarm attempt by the colony. Very undignified for such a great queen. The photo shows the shadow of her hive. The swarm was settled five metres away, waiting for her. On this occasion I picked her up and put her on a frame in a nuc and took her to the waiting swarm, who quickly moved in. I will often find a queen on the underside of the mesh floor, with the swarm. When this happens the floor is shaken into a nuc box and relocated.
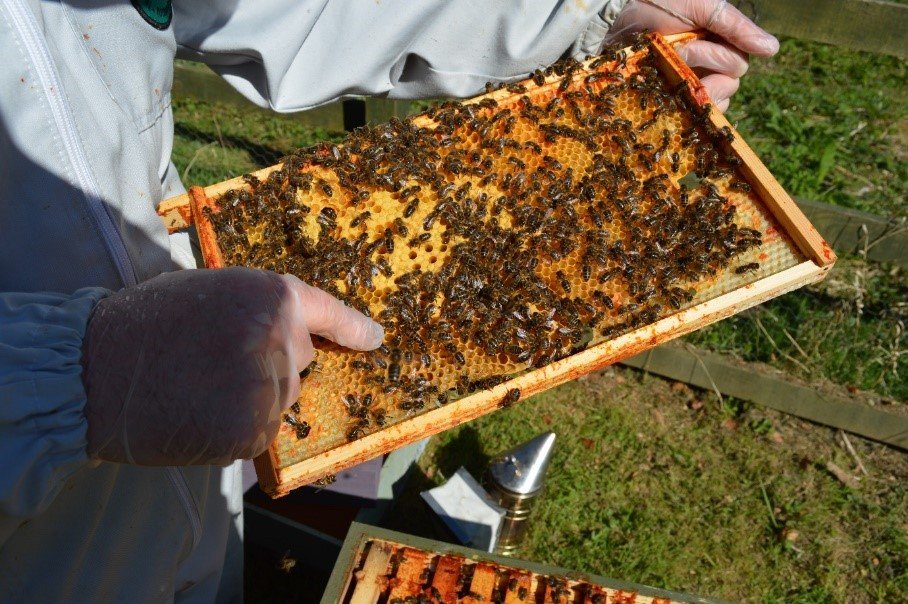
First, find the queen!
Just about any instructions regarding colony manipulation starts with the dreaded words, “first, find the queen”. Ok, so how do you first learn to find the unmarked queen?
Finding the queen is a skill. It comes from practice, a little technique and experience from handling, as well as observing bees. Here are some tips that I found useful:-
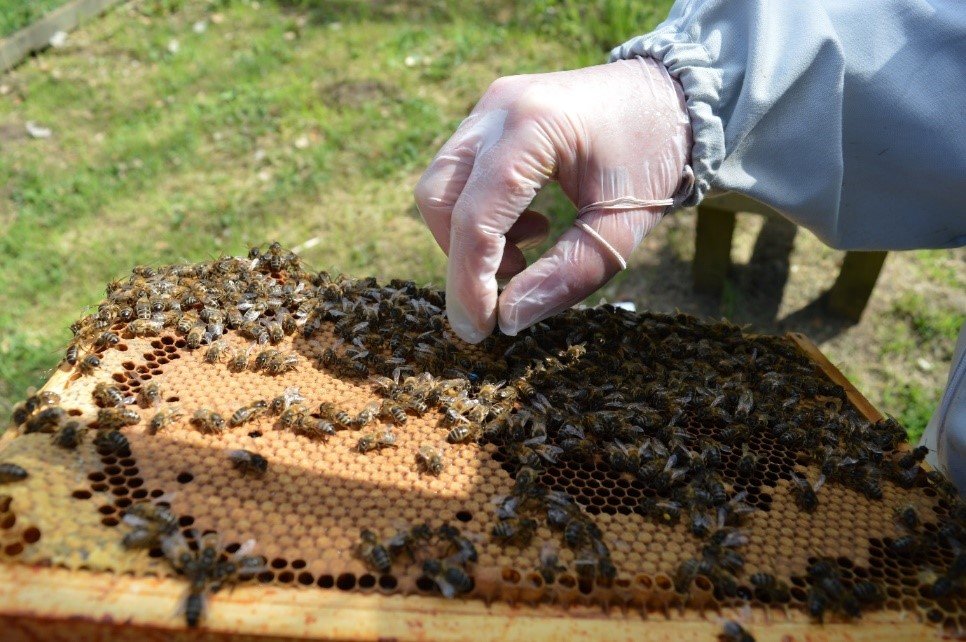
- Focus on the frames that she is likely to be on, often the one with eggs.
- Always start looking at the side of the frame that was in the dark, before it was taken out of the hive.
- Have a search pattern, which starts by quickly looking around the edges.
- Look for the abdomen, which will be up to twice as long as the workers and will “stick out” past her wings.
- Her legs are longer, so she is taller and often walks over the top of the workers, try looking at an angle rather than straight down onto the frame.
- Her legs are often more yellow, than the worker’s.
- I find that I’m often drawn to the queen because she is moving differently to the workers.
- Don’t stress about finding the queen on every inspection but when you do see her, mark her! So always have you kit ready.
Is marking and clipping queens possible without picking her up?
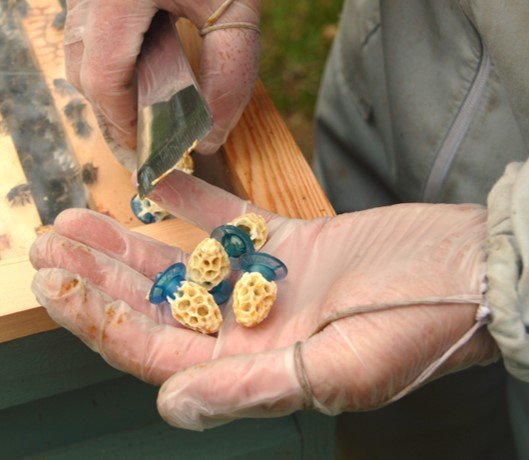
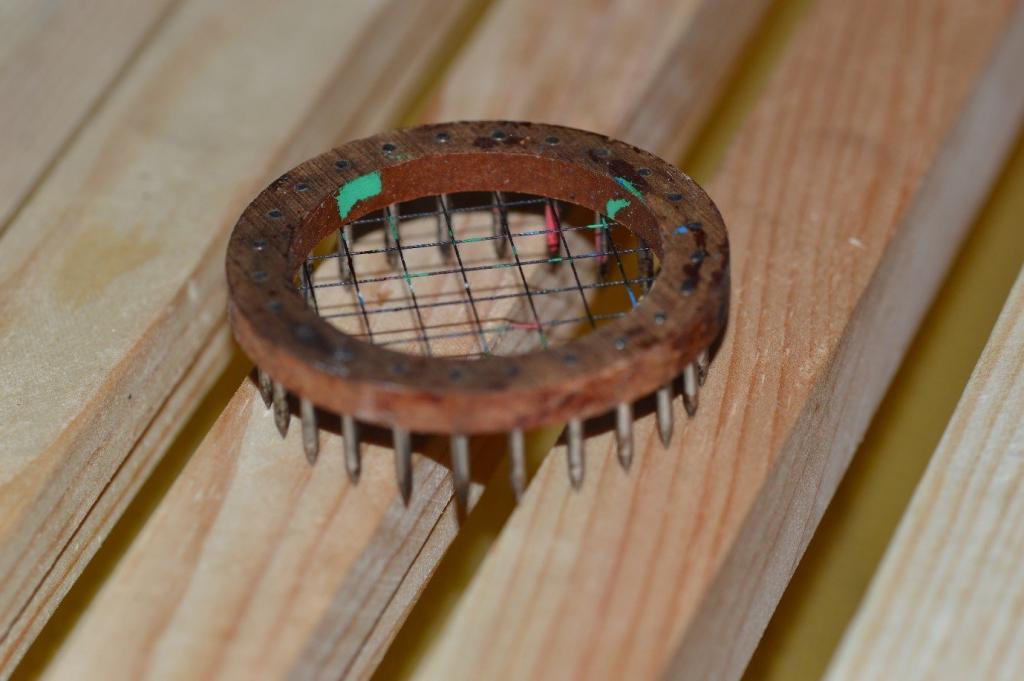
It is possible to mark the queen, without picking her up. When I started marking, I liked to use a crown of thorns cage. The wooden one, with steel nails and thread mesh. It looks a bit medieval, but I found that the thread has enough give in it, to hold the queen in position without damaging her. I found I could not get the pen through the grid of the plastic ones and they have less give.
When it comes to clipping, the only practical way to do this is to learn how to pick her up. If you are going to learn to pick her up to clip her, then you might as well mark her at the same time.
What technique do I use for marking and clipping queens?
I’m right handed, and the following process describes the process I try to follow. Sorry, left handers but simply swap everything over.
Marking and clipping queens requires a high level of concentration. Preparation is also important, so I make sure I have my marker pen and snips where I can easily reach and manipulate them, with one hand.
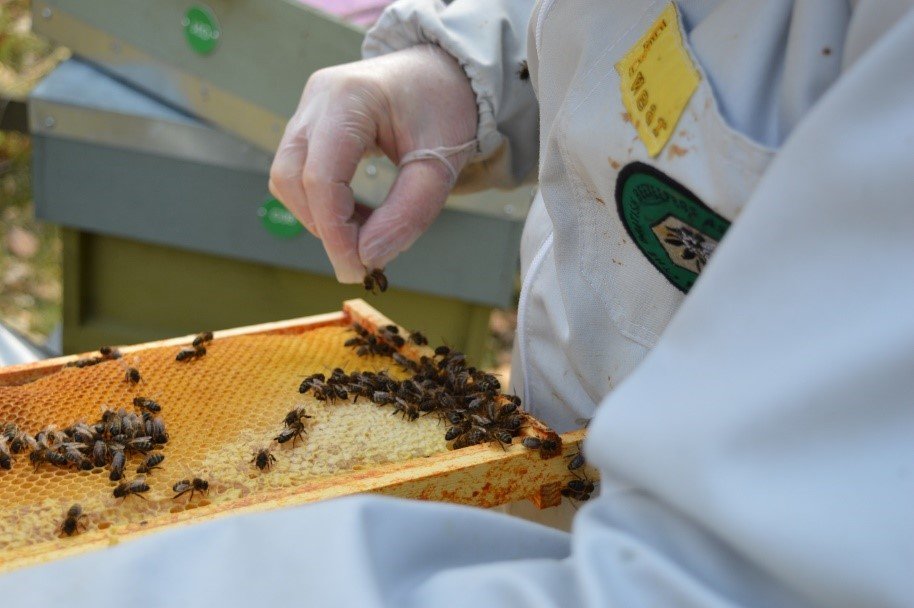
First, find the queen! Then in one smooth, careful movement: –
Free up your right hand, by putting the frame against your body and holding it there with your left hand.
Keep your eyes fixed on her and use your index finger to guide her toward the centre of the frame and facing your left arm.
Using the thumb and index finger of the right hand, hold her very lightly across the thorax, to the comb.
As your thumb and finger came together you will find that you are holding the wings. Gently lift her up by the wings.
With the queen held by the wings in your right hand, use your left hand to put the frame, diagonally, into the gap that it came from, in the brood body.
With the left hand now free, offer the queen the tip of your left index finger, to cling onto. She will curl her body, as if she intends to sting you but don’t worry, she won’t.

Use your left thumb to hold the three legs on her left side, so she is held in place. You need a minimum of two legs to avoid her doing pirouettes and being damaged.
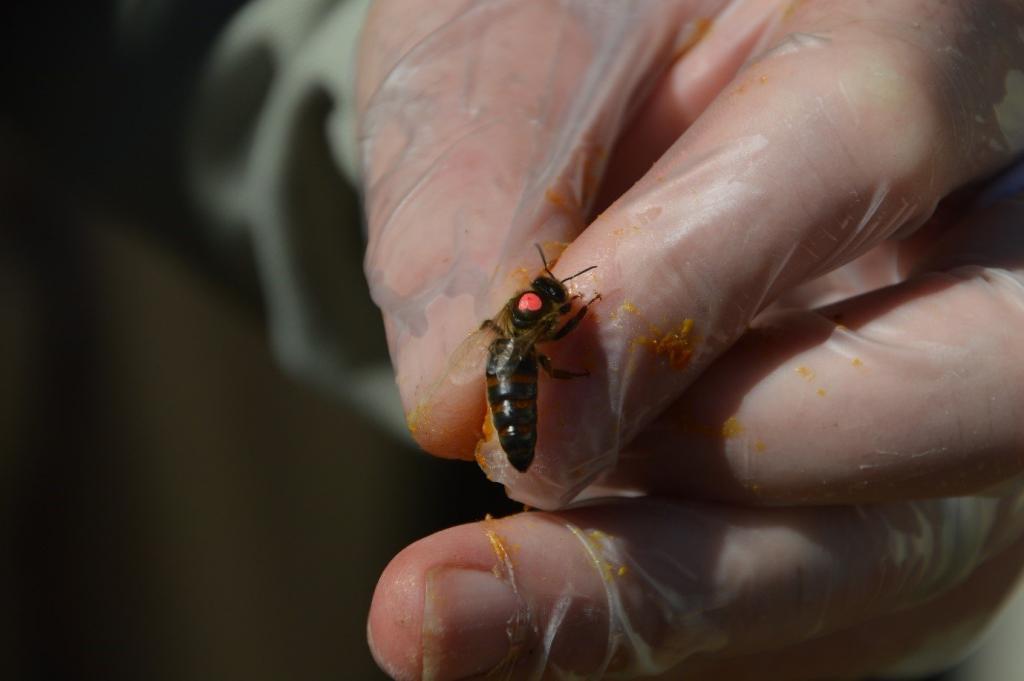
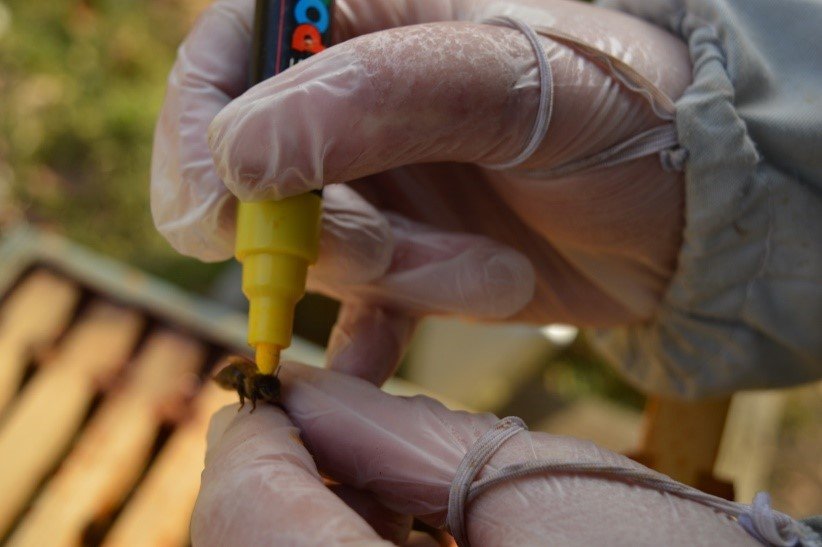
Take the top off your marking pen and do a test dab on the back of your hand, before then marking her on the centre of her thorax.
Put the pen down and pick up your snips. Carefully snip off the end third of one of her wings, making sure she has not managed to get one of her legs in the way.
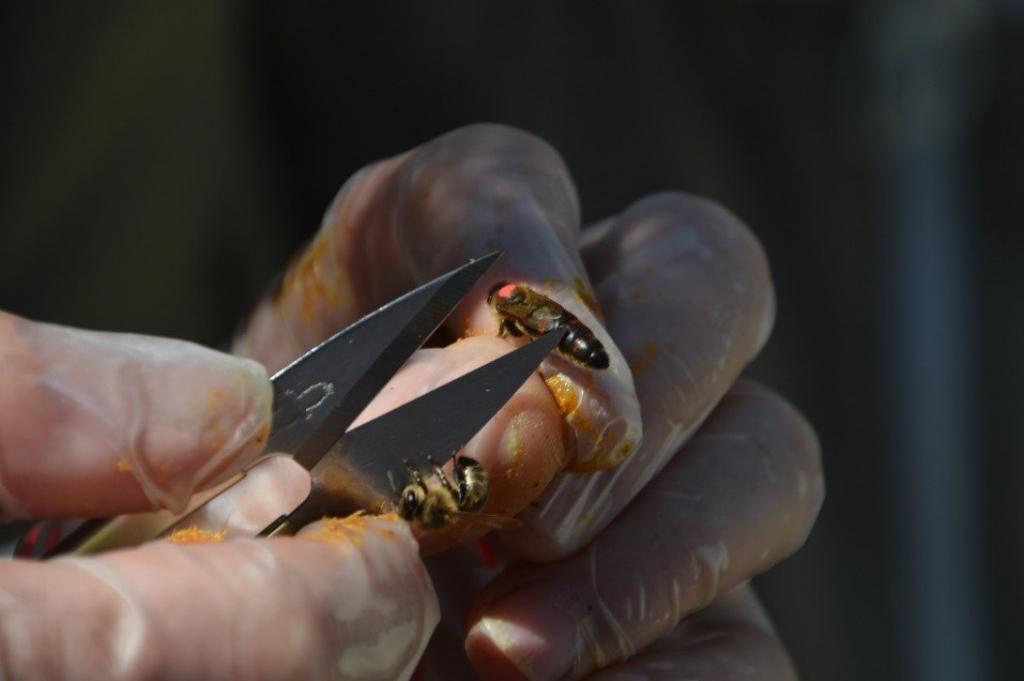
Once marked and clipped, offer her the top bars of the brood body and release her legs.

Becoming proficient with this method will take some practice. I practiced on a drone or two during every apiary visit for a season, until I was able to do it with confidence on queens.
Summary
In this blog I have tried to outline the reasons for marking and clipping queens, as well as how to do it. It is a skill which takes effort to develop, requiring some patience and a lot of practice. Try practicing on drones during routine apiary visits.
Spring is the best time of year for marking and clipping queens. The early season colony has bonded over the winter and is less likely to reject a modified queen. While the colony is still relatively small, she is also a lot easier to find!
I found that the standard of my beekeeping improved, once I was able to find, mark and clip queens. More of the things that I tried worked, I lost fewer bees and my confidence handling bees improved.
If you have had two or three hives for two or three years and want to take your beekeeping to the next level, try marking and clipping queens. I hope you get as much out of it as I have.
If you have found this interesting please subscribe to my blog and/or share on Facebook.